
A bathroom is only truly accessible when the route, transfer direction, fixtures, controls, and caregiver space work together for one specific user.
The dimensions below use the U.S. ADA Standards as useful planning benchmarks. The ADA primarily governs public, commercial, and government facilities—not most private homes. Confirm local residential code, permits, waterproofing, electrical protection, and the final layout with licensed professionals.
Section 1
Start With the User
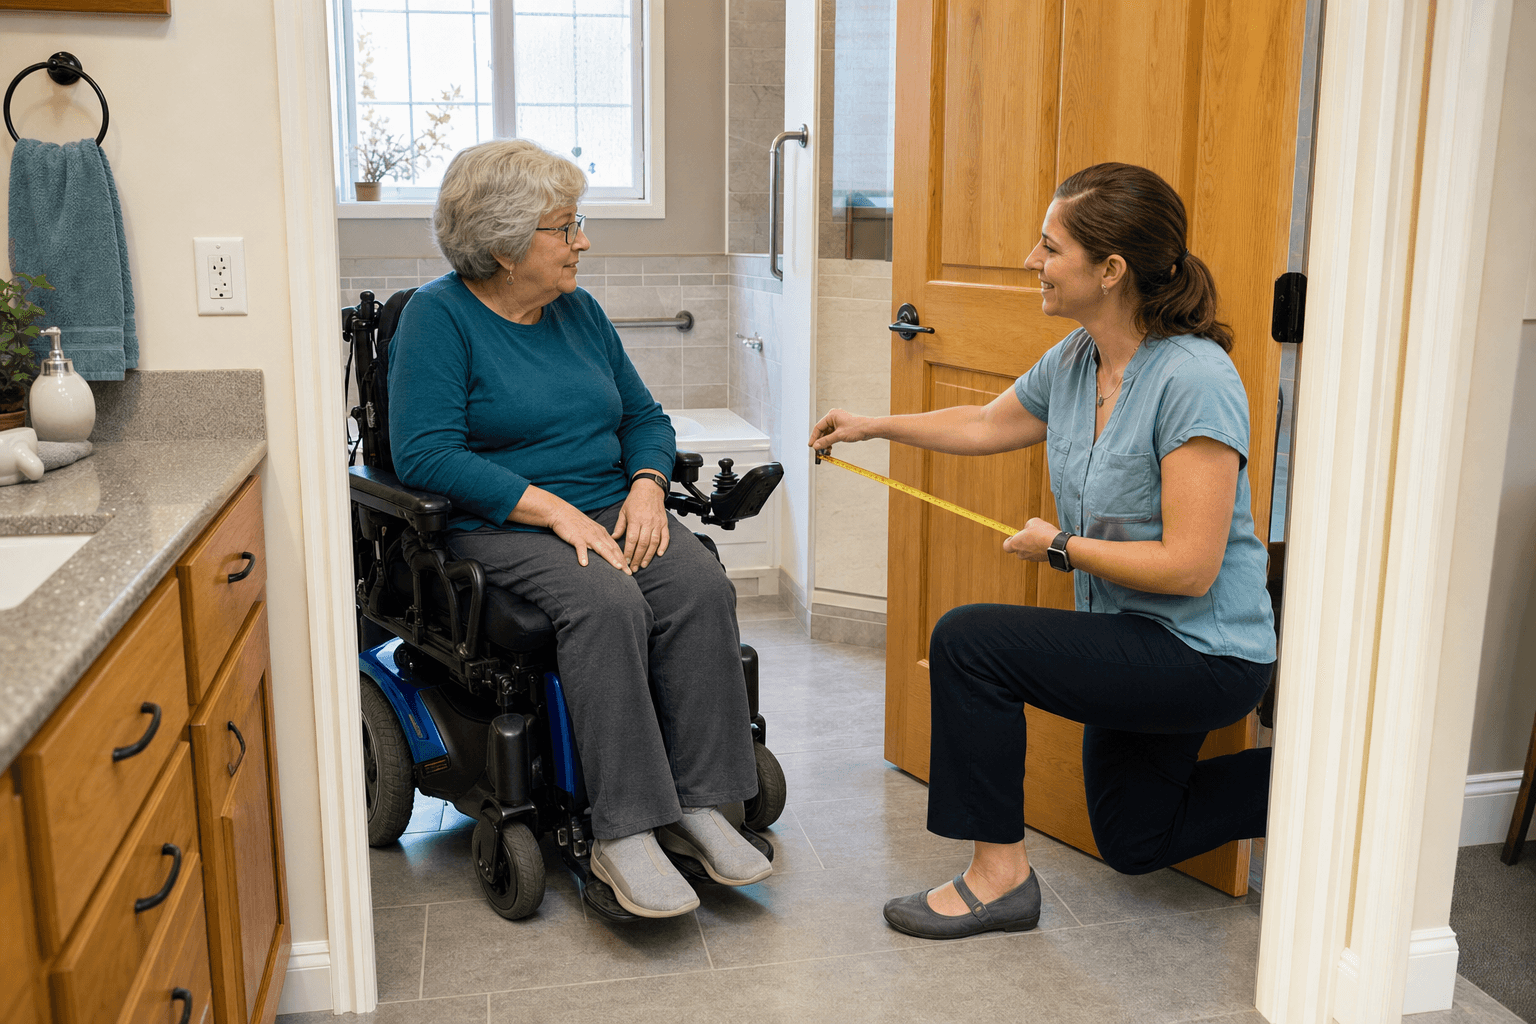
Before choosing fixtures, observe how the user enters, positions the chair, transfers, reaches controls, manages clothing, and calls for help. This prevents an expensive layout that looks accessible but does not work in daily life.
Transfer method
Document whether transfers are lateral, standing-pivot, sliding-board, lift-assisted, or caregiver-assisted—and from which side.
Wheelchair footprint
Measure total width, length, seat height, footplate position, turning behavior, and whether the chair tilts or reclines.
Caregiver space
Mark where a helper must stand and whether one-person, two-person, mobile-lift, or ceiling-lift assistance may be needed.
Daily routine
Review bathing, toileting, grooming, medication, nighttime use, fatigue, and emergency communication.
Best first appointment
Record these measurements
Door opening and hallway approach: ________
Room width and depth: ________
Wheelchair width, length, and seat height: ________
Toilet centerline and open transfer side: ________
Shower opening and threshold height: ________
Vanity height, knee space, and pipe location: ________
Fixture edges, walls, and door swing: ________
Drains, vents, outlets, and wall studs: ________
Section 2
Space and Doorway
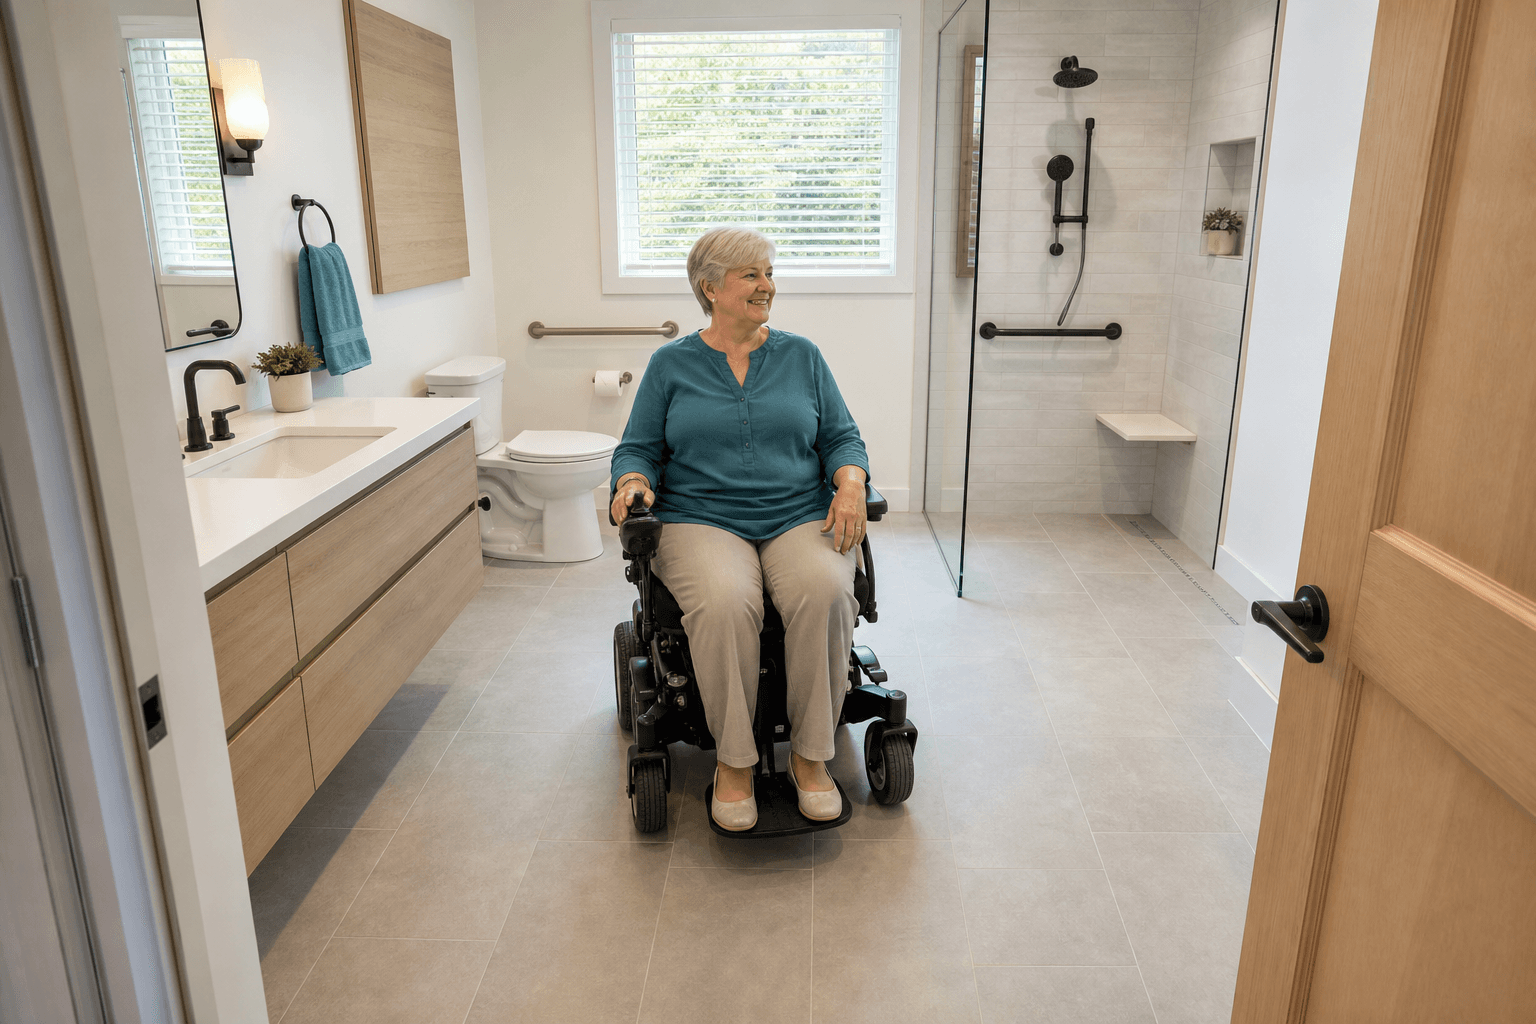
Create one continuous obstacle-free route. The wheelchair must enter, align beside each priority fixture, and leave without repeated tight turns. Keep bins, scales, mats, and open cabinets out of this route.
Clear floor space
30" × 48"
At fixtures, controls, and storage
Turning space
60" diameter
Or a compliant T-shaped turning space
Toilet seat height
17"–19"
Confirm against the user’s transfer height
Roll-in shower
60" × 30"
Common minimum planning benchmark
Door clear width
32" minimum
A 36" door is often more comfortable
Reach range
15"–48"
Keep daily items in comfortable seated reach
Door strategy
- • Consider an outward-swinging or pocket door.
- • Use one-hand lever hardware.
- • Preserve wall structure needed for grab bars.
- • Add an emergency release or outside access method.
Small-room strategy
- • Let clear spaces overlap where permitted.
- • Replace deep cabinetry with a shallow vanity.
- • Relocate the door before losing transfer space.
- • Tape the full layout and test the actual chair.
Section 3
Toilet Transfers
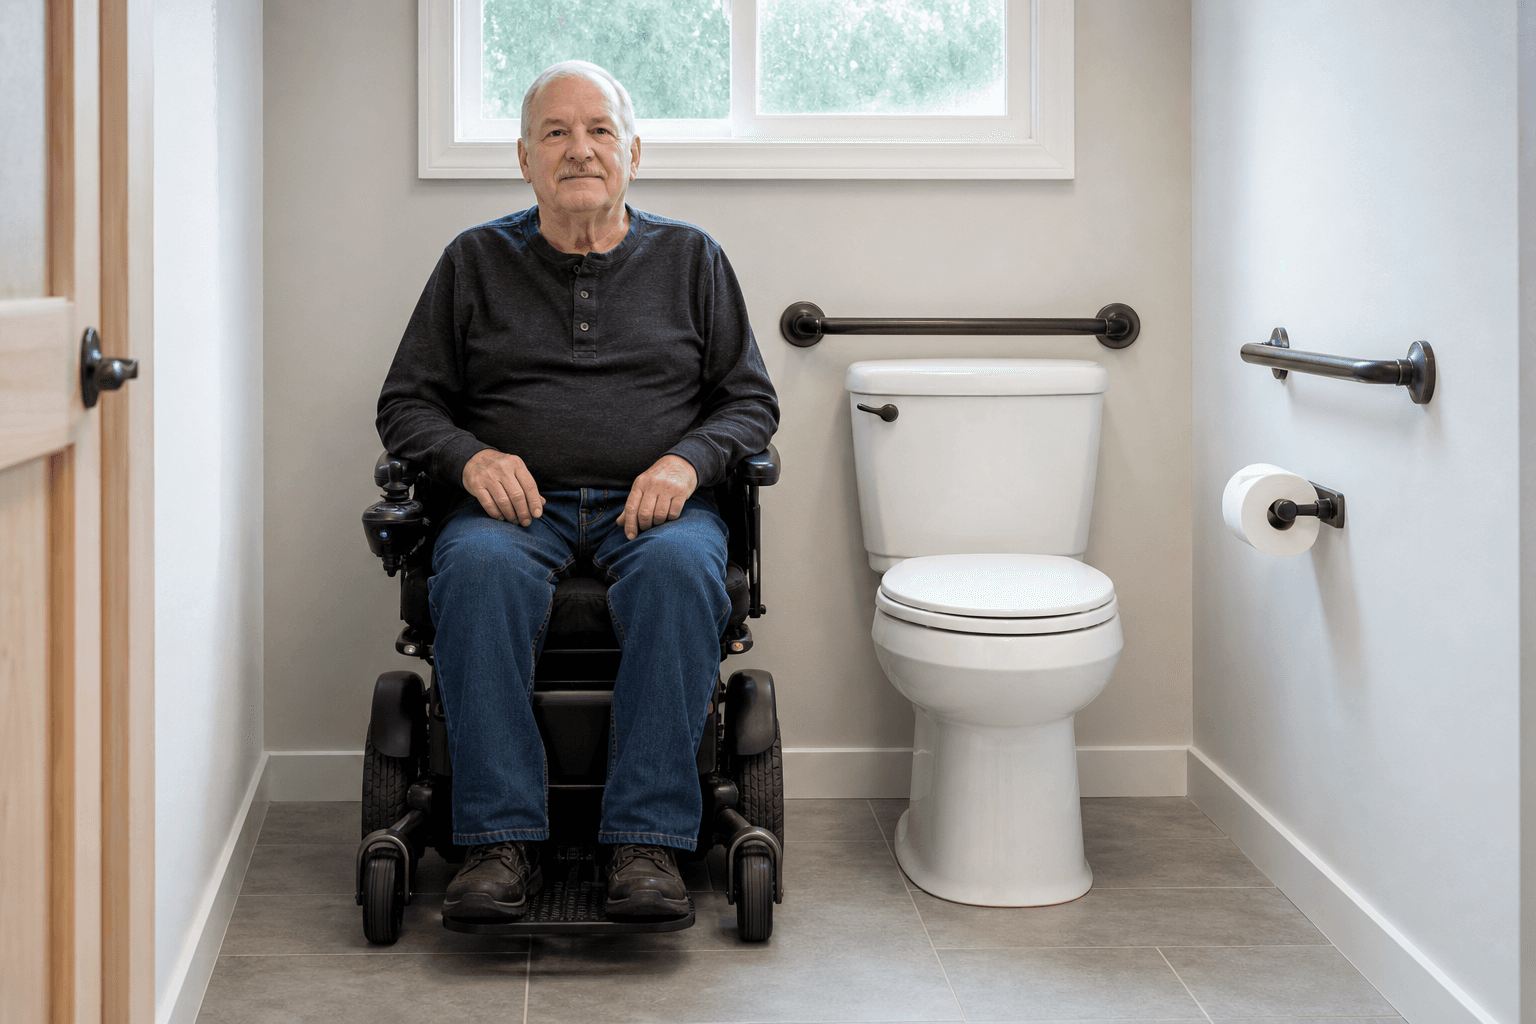
Match the toilet zone to transfer direction. Do not place a vanity, radiator, or storage tower in the wheelchair side space. Seat height alone does not make a toilet accessible.
| Decision | Benchmark | User-specific check |
|---|---|---|
| Seat height | 17"–19" | Compare with chair seat height, feet, transfer board, and trunk control. |
| Toilet position | 16"–18" from side wall to centerline | Confirm transfer side and caregiver position. |
| Side grab bar | 42" minimum length benchmark | Place for the user’s reach and keep the grip clear. |
| Rear grab bar | 36" minimum length benchmark | Coordinate tank, flush, bidet, and wall blocking. |
| Clearance | Keep the transfer side unobstructed | Test chair angle, footplates, clothing, and door position. |
Grab bars are structural equipment
Fixed bars
Simple and durable when transfer direction is stable.
Fold-down bars
Flexible side access with adequate anchoring and operating room.
Bidet seat
May improve hygiene independence; verify controls, power, water protection, and seat opening.
Section 4
Shower and Bathing
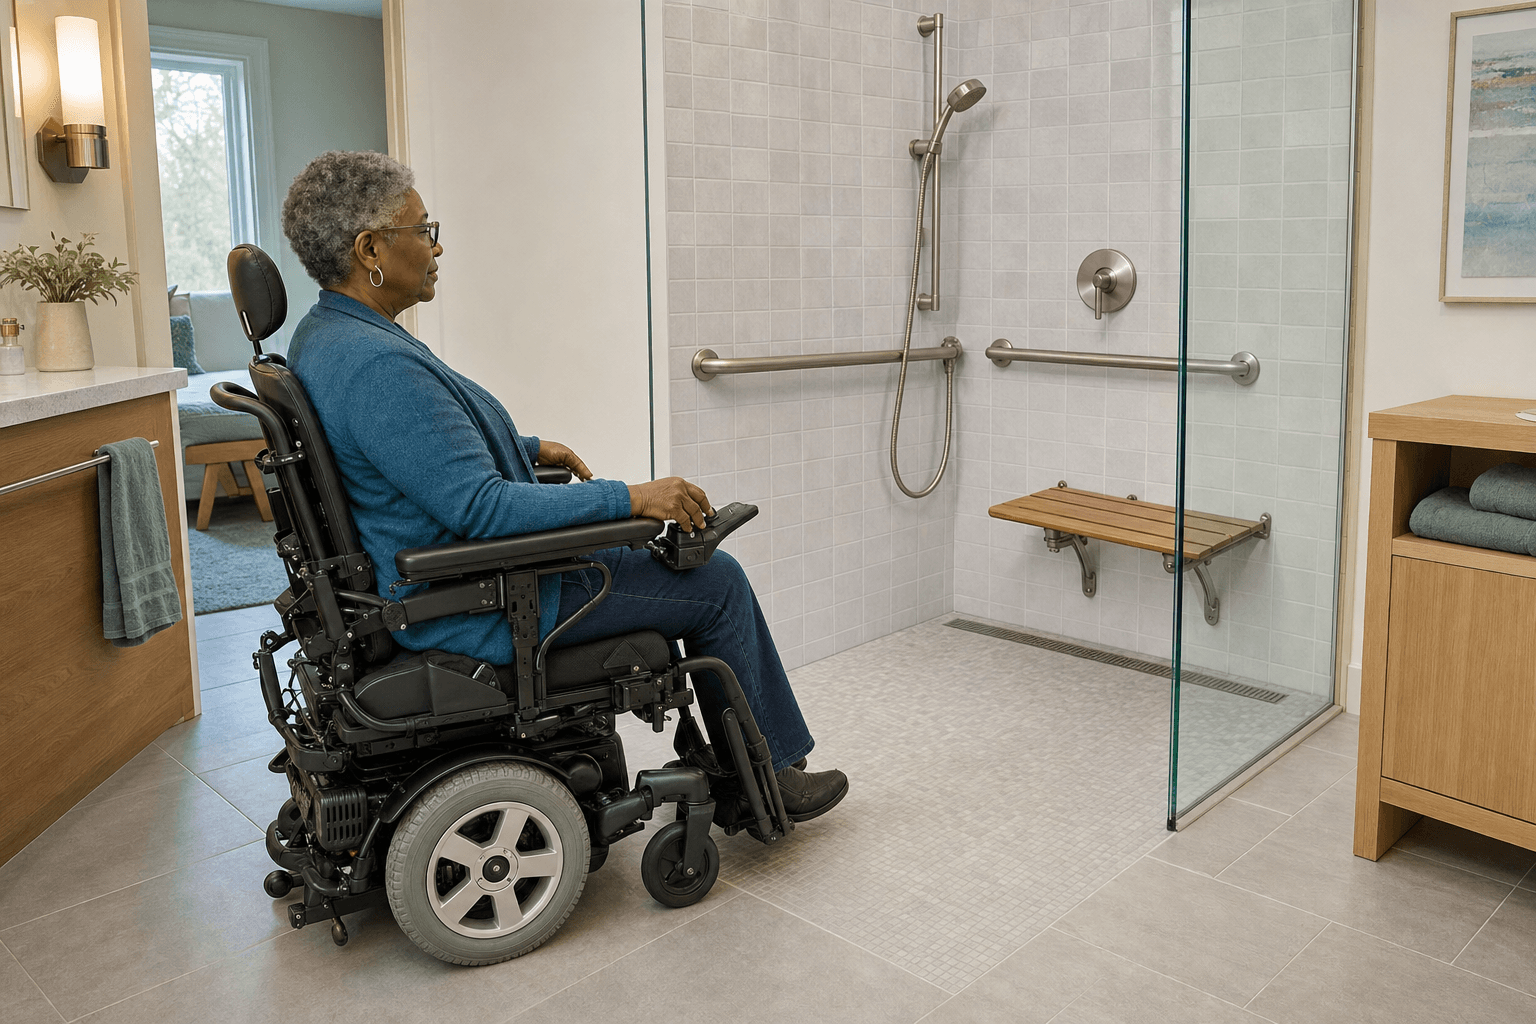
A step-free shower is usually the most flexible long-term solution. It must manage both access and water: a flat entry that floods the wheelchair route is not accessible.
Roll-in shower
- • Supports shower chairs and minimal-transfer routines.
- • Start with a 60-inch by 30-inch benchmark.
- • A folding seat preserves options for different users.
- • Keep controls and handheld shower within seated reach.
Tub or transfer shower
- • Can work with a consistent seated transfer.
- • Needs a stable seat and clear exterior transfer zone.
- • A tub cut lowers the step but does not remove transfer needs.
- • Reassess if strength or caregiver needs may change.
Entry
Curbless where construction allows; otherwise minimize and contrast the threshold.
Floor
Slip-resistant surface with a consistent drain slope.
Controls
Lever or thermostatic controls usable before entering the water stream.
Showerhead
Handheld unit on an adjustable slide bar with reachable hose.
Seat
Folding or freestanding seat selected for the transfer plan and load rating.
Drainage
Coordinate drain, joists, waterproofing, and the dry route.
Storage
Use shallow or recessed shelves without sharp projections.
Temperature
Provide anti-scald protection and a clear comfortable setting.
Section 5
Sink, Mirror, and Storage
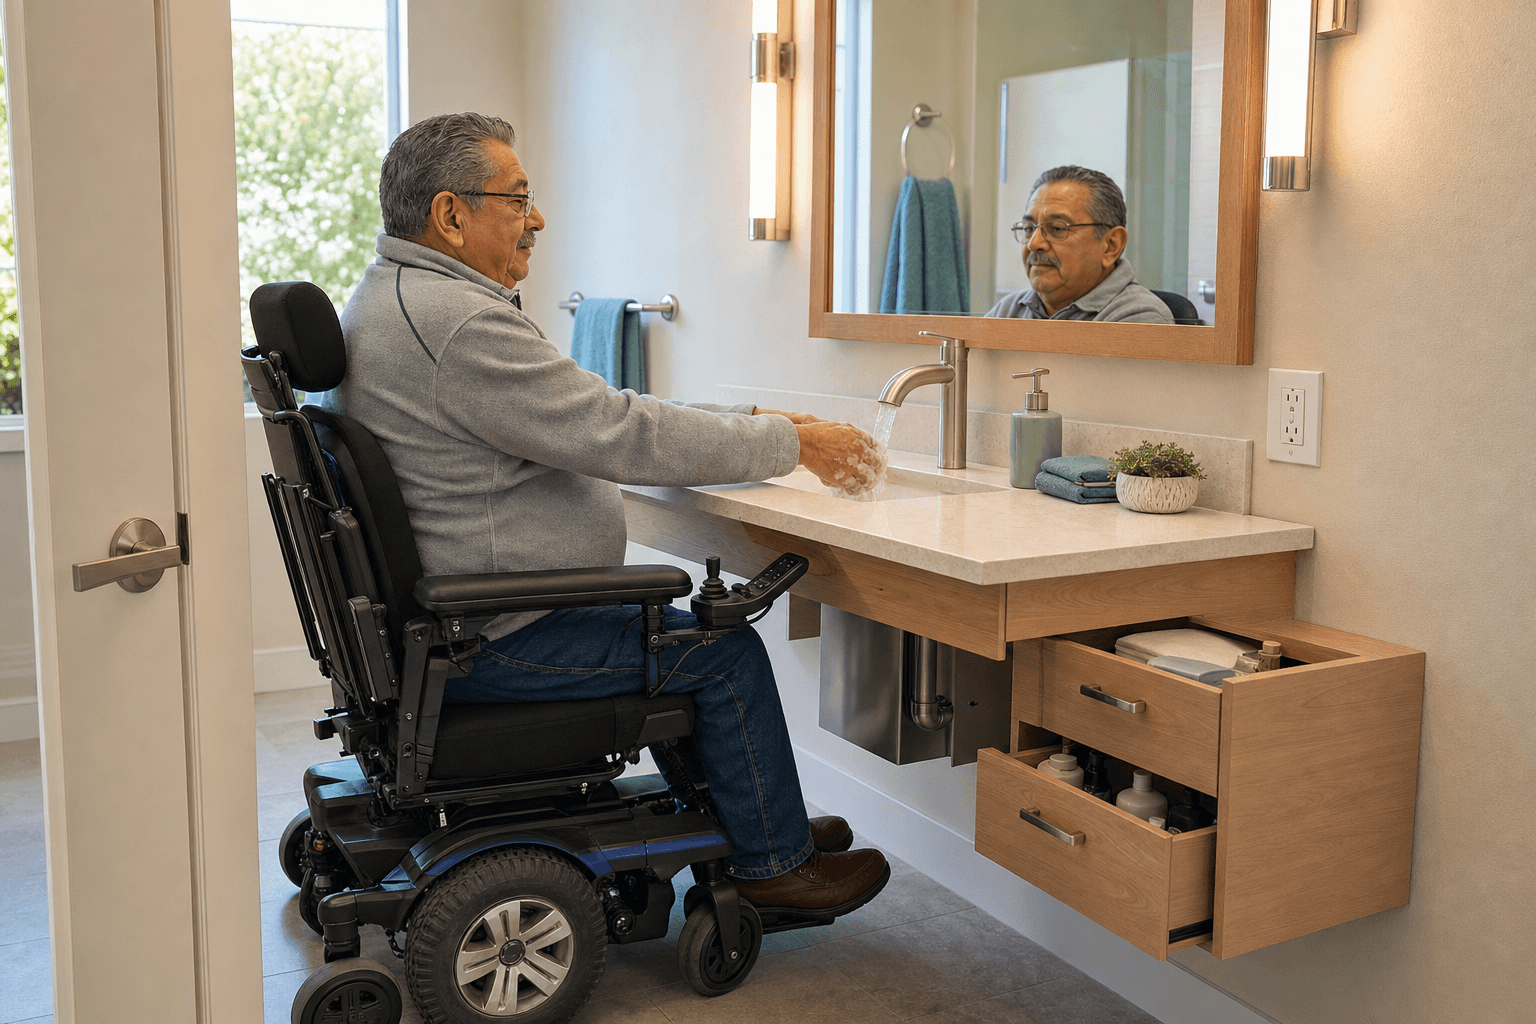
A forward approach needs open knee and toe space. Protect exposed pipes from contact and heat, and avoid deep cabinets that force a sideways reach.
- • Use a wall-mounted or shallow vanity with finished knee space.
- • Choose a shallow basin and lever or touchless faucet.
- • Lower or tilt the mirror for a seated eye line.
- • Use full-extension drawers and reachable open shelves.
- • Move daily items out of high and floor-level storage.
- • Add layered, low-glare lighting and humidity-controlled ventilation.
Reach test
One seated routine
Complete handwashing, grooming, towel use, and medication storage from the actual chair. Mark every unstable reach before cabinetry and controls are ordered.
Section 6
Renovation Plans
These are broad planning ranges. Plumbing relocation, structural work, waterproofing, permits, and local labor can change the final cost substantially.
Quick Safety Upgrade
$150–$700
1–2 days
Renters or a bathroom that already has usable circulation.
- ✓Structurally anchored grab bars
- ✓Slip-resistant route and bathing surfaces
- ✓Handheld shower on an adjustable slide bar
- ✓Lever faucet, brighter lighting, and reachable storage
- ✓Transfer-height review before adding a toilet riser
Targeted Remodel
$1,500–$7,500
3–10 days
Removing one major barrier without rebuilding the whole room.
- ✓Door reversal, pocket door, or wider doorway
- ✓Tub cut or low-threshold shower conversion
- ✓Wall reinforcement for current and future supports
- ✓Open-knee vanity or wall-mounted sink
- ✓New flooring, drainage, and relocated accessories
Full Accessible Bathroom
$8,000–$35,000+
3–6 weeks
Long-term independence, caregiver access, or major space limits.
- ✓Reconfigured walls and a continuous step-free route
- ✓Curbless roll-in shower with engineered drainage
- ✓Transfer-compatible toilet zone and structural blocking
- ✓Wheelchair-friendly vanity, mirror, controls, and storage
- ✓Ventilation, emergency access, and future-ready electrical work
Section 7
A Safer Project Sequence
- 1
Observe
Document the routine, transfer side, chair dimensions, caregiver position, and priorities.
- 2
Measure
Draw walls, doors, fixtures, drains, utilities, studs, and clear spaces.
- 3
Mock up
Use tape and boxes to test the full-scale layout with the actual wheelchair.
- 4
Coordinate
Review one drawing with the user, OT, contractor, plumber, and electrician.
- 5
Permit
Confirm local structural, plumbing, electrical, and ventilation requirements.
- 6
Build hidden support
Install blocking, waterproofing, drainage, power, and future equipment support.
- 7
Test
Complete transfer, reach, water, and emergency-access checks before handoff.
Section 8
Safety Checks
Do not rely on
- •Suction grab bars for body-weight support
- •Loose bath mats in the wheelchair route
- •A toilet riser chosen without a transfer trial
- •A curbless shower without a drainage plan
- •An inward door that can trap a fallen user
Verify before handoff
- •Grab-bar anchoring and rated hardware
- •Slip resistance under wet, soapy conditions
- •Hot-water temperature and anti-scald performance
- •GFCI, fixture ratings, and safe cord management
- •Emergency communication reachable from the floor
Section 9
Final Checklist
Route and Space
Toilet
Bathing
Daily Safety
Section 10
Standards and Resources
Professional review
- • Occupational therapist for transfer and routine assessment
- • Accessibility-experienced designer or contractor
- • Licensed plumber and electrician
- • Local building department for permits and residential code
Important: This guide supports planning and professional conversations. It is not a substitute for an individual clinical assessment, engineering review, product instructions, or local code compliance.
Document version: 1.0 · Last updated: July 2026 · Review status: Professional review recommended before construction